Showing posts with label tutorial. Show all posts

Wednesday, August 8, 2012

Sweater Vests and Duct Taped Hems


I know, it sounds trashy.
and it kinda is. but just listen to the story.

I was looking through some old clothes I was going donate, and I found this adorable cardigan I wore all the time. I was giving it away because it had some holes on the sleeves. Well, I was kind of attached to this cardigan, so I decided to keep it anyway, and just cut off the sleeves to make it a vest. This all seemed easy enough, until I found out that my mother's sewing machine is broken, so I couldn't hem it. I was really upset until I realized one thing - duct tape fixes everything. And I mean everything. So, I duct taped the hem. And, it actually worked out. So, I thought I might as well blog about it.

First, I cut off the sleeves of the cardigan. (don't cut right by the seam. Leave a little fabric to fold over and make your hem.)


Second, I turned the cardigan inside out so I could easily fold the excess fabric over. Once it was folded over, I just stuck the duct tape on.

(fabric not folded over.)

(fabric folded over.)

(fabric duct taped down, and hem formed.)

After that, I just repeated it on the other side. And then viola! You've got yourself a new sweater vest cardigan type thing.


Definitely added a little jazz to a plain black shirt and red pants.

Anyway, hope you try this out when you need a quick hem, and that it's not too trashy. :)

just baylee tonight.

Saturday, July 28, 2012

Flower Rings

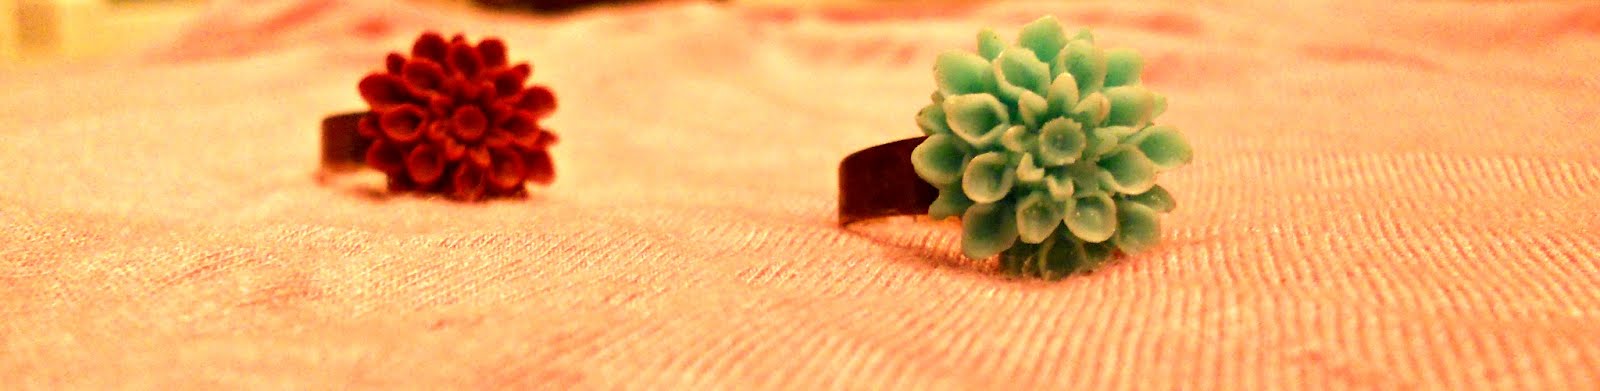
These flower rings were made by Baylee and her sister, and they are extremely easy to make. And to top it all off, they're adorable.

First you take the flower trinket (or anything you want for that matter) and you glue it to the ring base. Now you're done. It really is that easy. A few tips, Baylee's sister purchased the materials from a website through Artfire, but you could probably find the ring bases at any craft store. The best glue to use E-6000, which can be found at any craft store, or even Walmart. And last, you don't need a ton of glue, just make sure that it's fully dry before you wear the ring.


baylee&&sarah

Tuesday, July 17, 2012

Head Wraps

Today we made a SUPER easy head wrap.


We love these head wraps because not only are they easy to make, they're super adorbs. Baylee especially likes them because it's an easy fix for a bad hair day. (She wears them way too much.)

Step One. Gather fabric.
This is pretty self explanatory, friends. Get a strip of fabric, long enough to tie around your head. (We like ours long, so we do anywhere from 2.5-3 feet)


Step Two. (optional) Make the ends pointy.
We think square ends are ugly so we make them triangles. This also makes it easier to tuck the ends in if you want to knot it. (see first picture)


Step Three. Cut triangles out.
In this step, you cut the triangles out. (With scissors, love, Sarah.)


Step Four. Pin where you'll sew.
To prevent the edges of your head wrap from fraying, we're gonna sew the edges under. You take take as much as you want, depending on how thick you want the head wrap. (On ours we did about 1 in.) Repeat for both sides.

Step Five. Sew.
Sew.

And there you have it.
Now you have your own little head wrap to wear. Baylee likes putting her hair up in a bun and put the wrap so it covers her hairline, and Sarah likes to leave her bangs out and wear it as a kitchy headband.